Continuing my “how I use the stuff I have” posts, I thought that I’d show how I use pencils when I’m working on a series of portraits of the same person.
Since I work in watercolour which is notoriously not great for correcting and changing your mind mid painting, when there’s a face that I know that I’ll want to explore I usually create a “construction” sketch which I transfer to paper several times. I can then paint the portrait in different tones, or focus on a certain aspect that interests me, or take it to really wild places without spending too much time on the technicalities of the preliminary sketch.
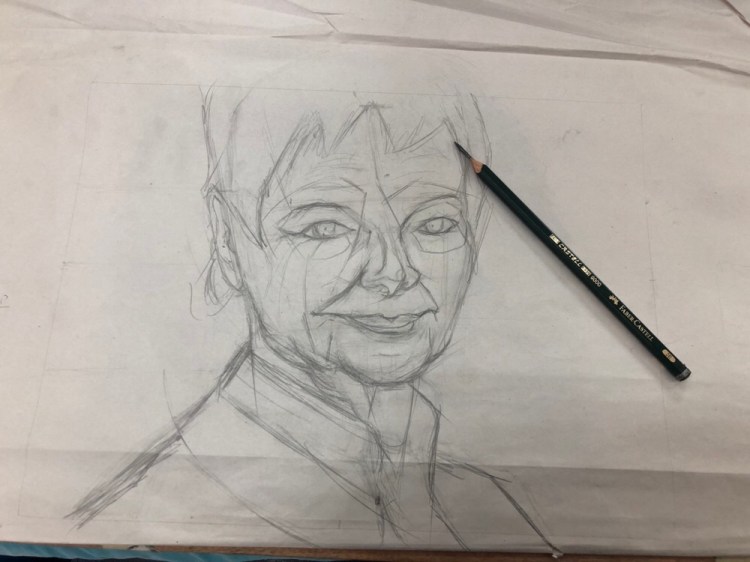
I start the “construction” sketch on newsprint paper. It’s much more detailed and “searching” than it needs to be, but that doesn’t matter much. Ultimately only the lines that will help me construct the face and note where the major light and dark transitions are will remain. I draw this with a Faber Castell 9000 2B or 3B pencil that’s sharpened with a pocket knife to allow me to use it without having to pause for sharpening. Newsprint paper is pretty transparent and also generally too fragile for regular erasers, so I use a kneaded eraser to lift off unnecessary lines, or simply ignore them.
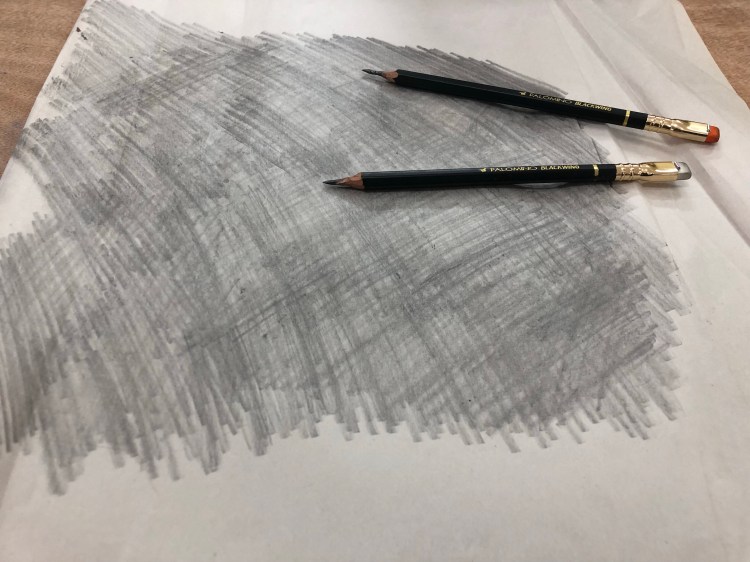
Once I’m done with that, I flip the page to the other side and scribble on it with a Faber Castell 9000 6B or Palomino Blackwing MMX. These are again sharpened with a pocket knife, and the point is to get as much coverage as possible. If I’m doing a lot of transfers then I might have to repeat this process, adding more graphite to the back of the sketch.
I then transfer the most important lines in my sketch on to a piece of watercolour paper. This is done by placing the newsprint paper with the sketch over the watercolour paper and going over the lines in the sketch with a 2H pencil (I use a Faber Castell 9000 2H, but this isn’t that important). The pencil needs to be a hard pencil for the lines to transfer to the paper below, but it can’t be too hard or too sharp or it will rip the newsprint paper. It’s also important to put just enough pressure when you’re tracing so the graphite on the underside of the sketch transfers to the paper, but not too much to bruise the watercolour paper. Using a 300 gsm watercolour paper helps protect it, but it’s mostly a matter of practice. When you’re done you get something like this:
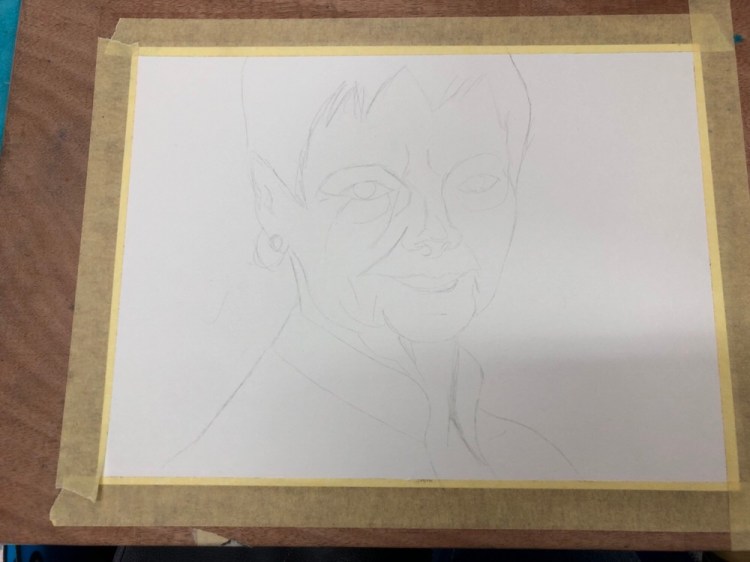
The lines are pretty faint, which is great when working with watercolour, because they don’t distract too much from the figure once you start working.
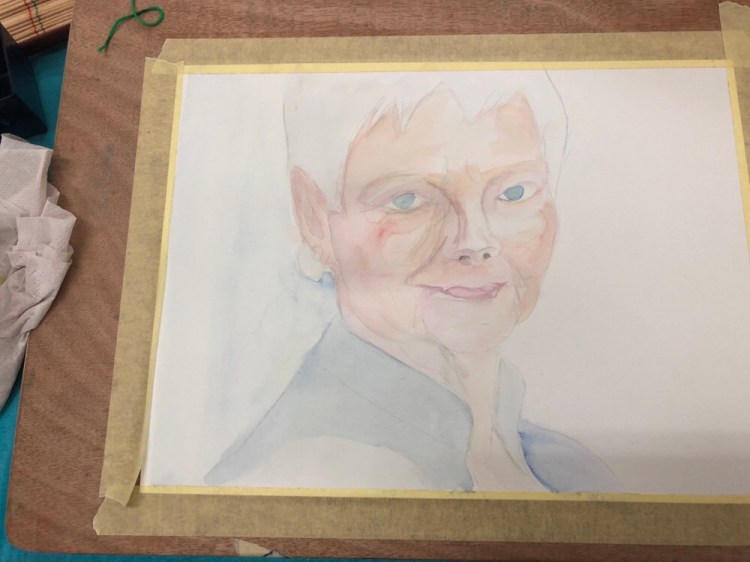
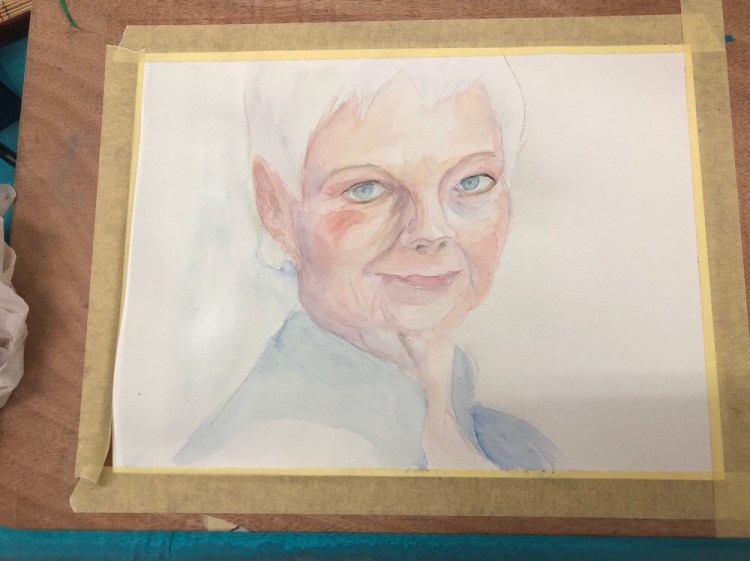
I created about five watercolour portraits of Dame Judi Dench from this sketch so far, and there’s a good chance that I’ll go explore her some more in the future.

