How to Use Your Notebooks in 2026 to Improve Your Life
Hi there, do you have a big stack of beautiful, brand new notebooks just waiting to be used? Do you have goals and plans for the new year? Do you want to improve your life in many different areas? Great! This post is for you.
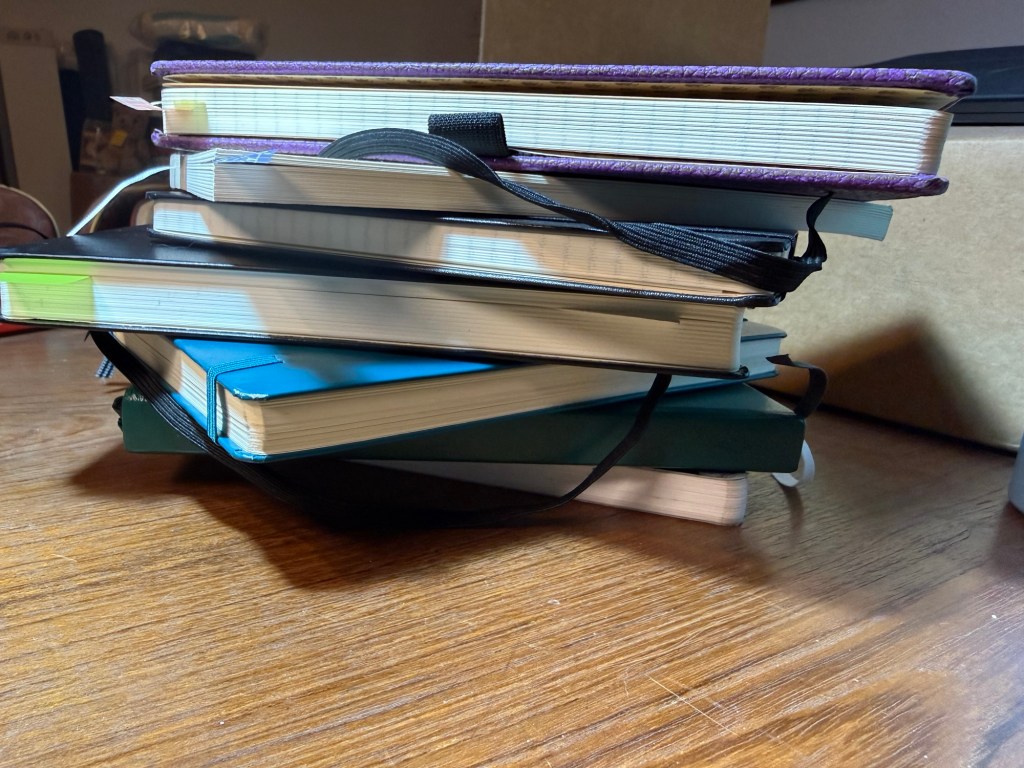
Go grab a handful of those notebooks. We’re going to take the dust off them and get them to work for you. Remember: a beautiful notebook looks even better once it’s full. Notebooks are meant to be used as tools, not stared at like art objects.
Here are a few kinds of notebooks you should keep in 2026:
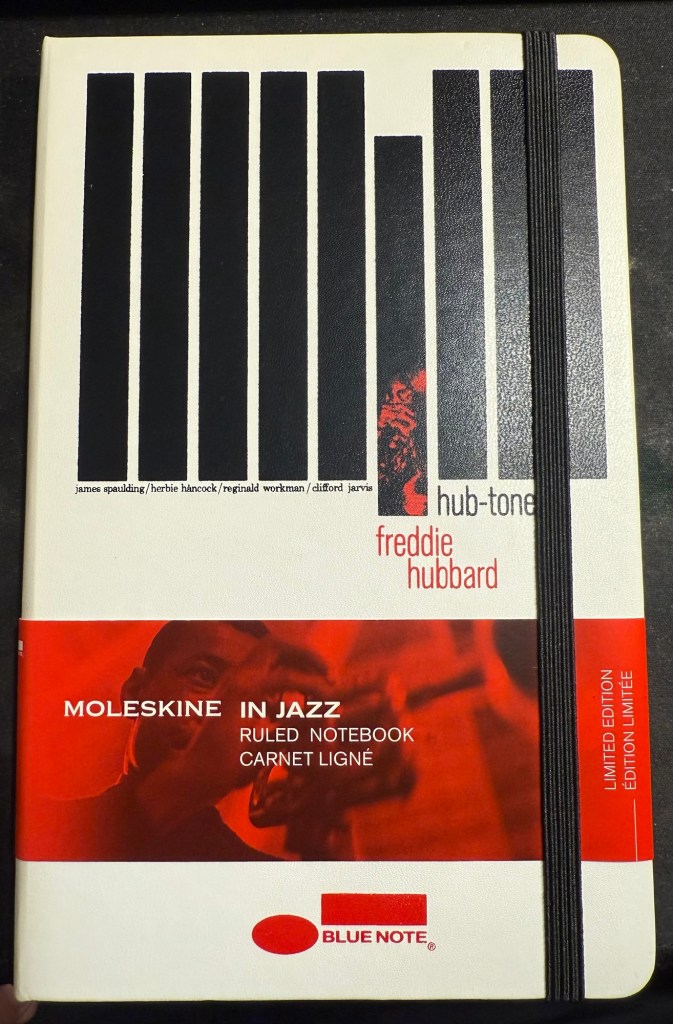
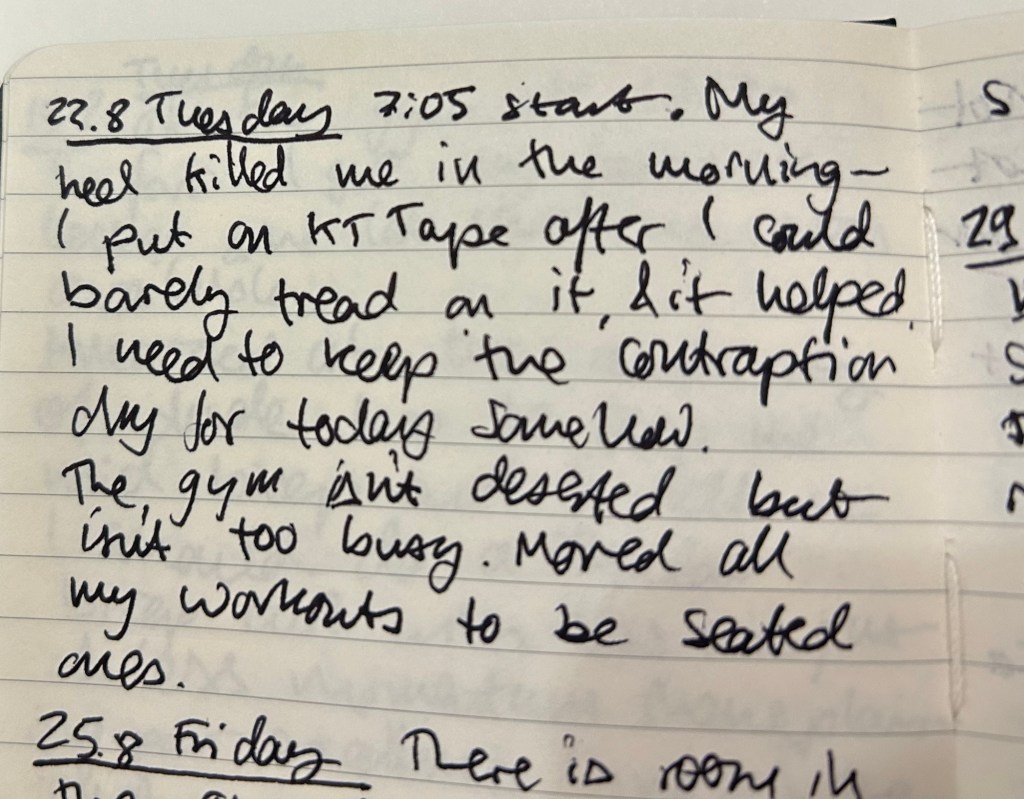
- Journal – this is an absolute must for everybody. I know it’s hard to be consistent – believe me I struggle with it daily – but journaling is a habit that is guaranteed to pay back dividends. I start mine daily with a list of things that I’m grateful for, and end with a mini review of the day (did I fulfil my five ACT values?). In between is a running log of the day, and sometimes a section where I work things out on the page. Don’t post your opinions and thoughts on social media – write them in your journal instead. A journal will give you peace of mind, perspective, joy and a safe place to vent. Don’t take it out on people, put it on the page. I currently use a Stalogy 365 B6 for my journal, though for years I have used limited edition lined Large Moleskine hardcovers, and I may yet return to them.
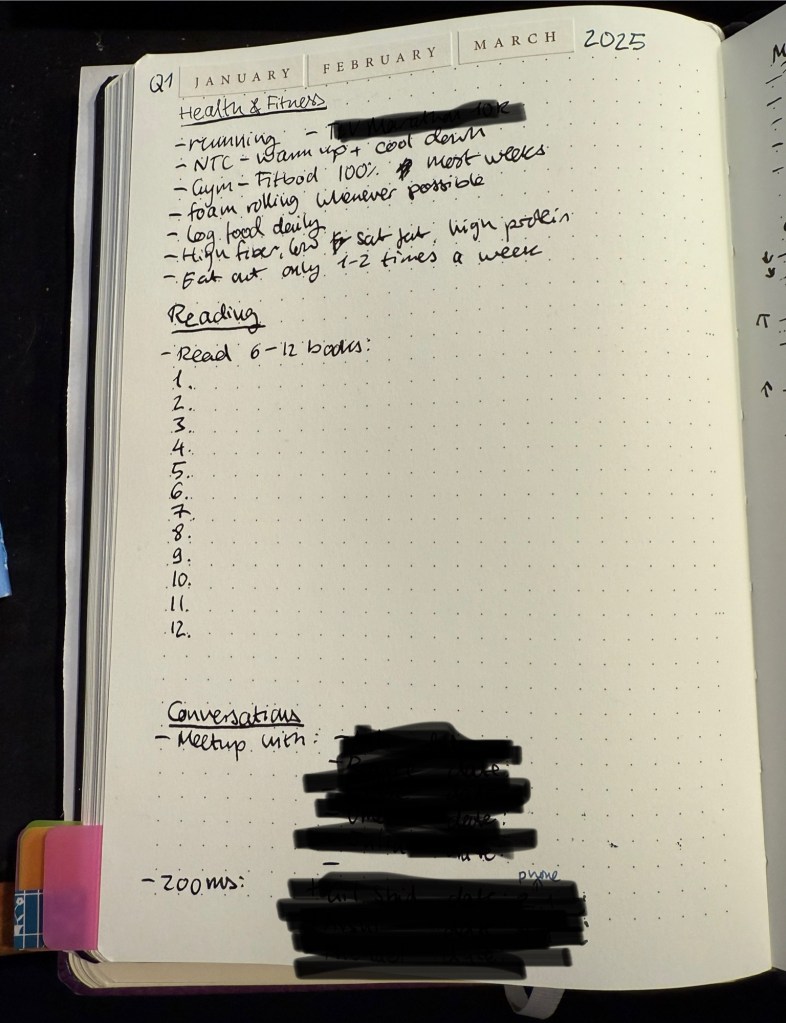
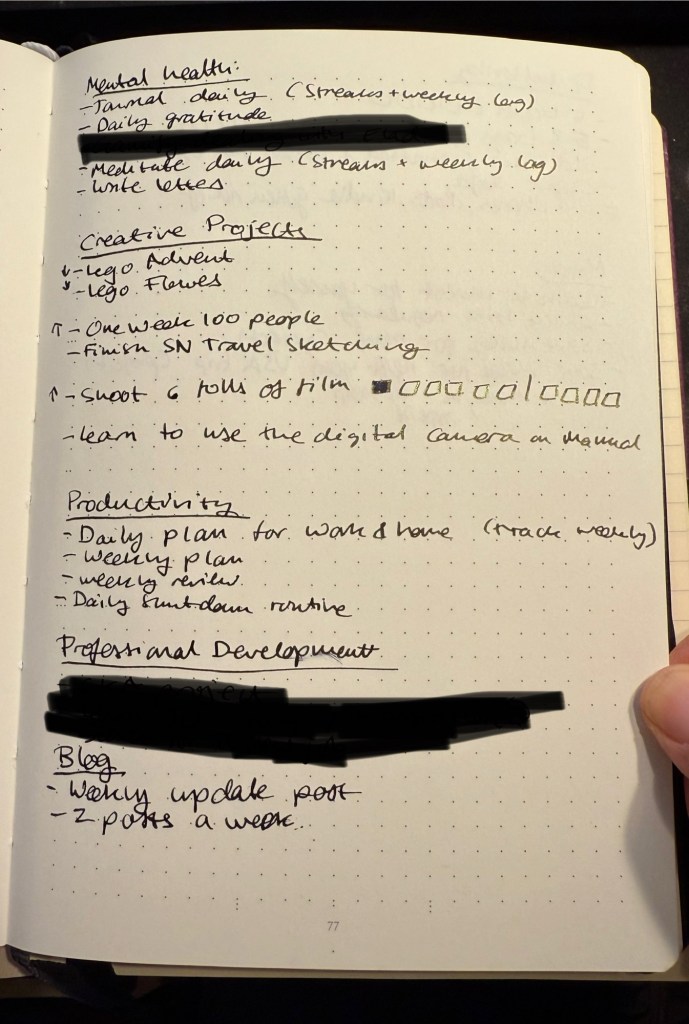
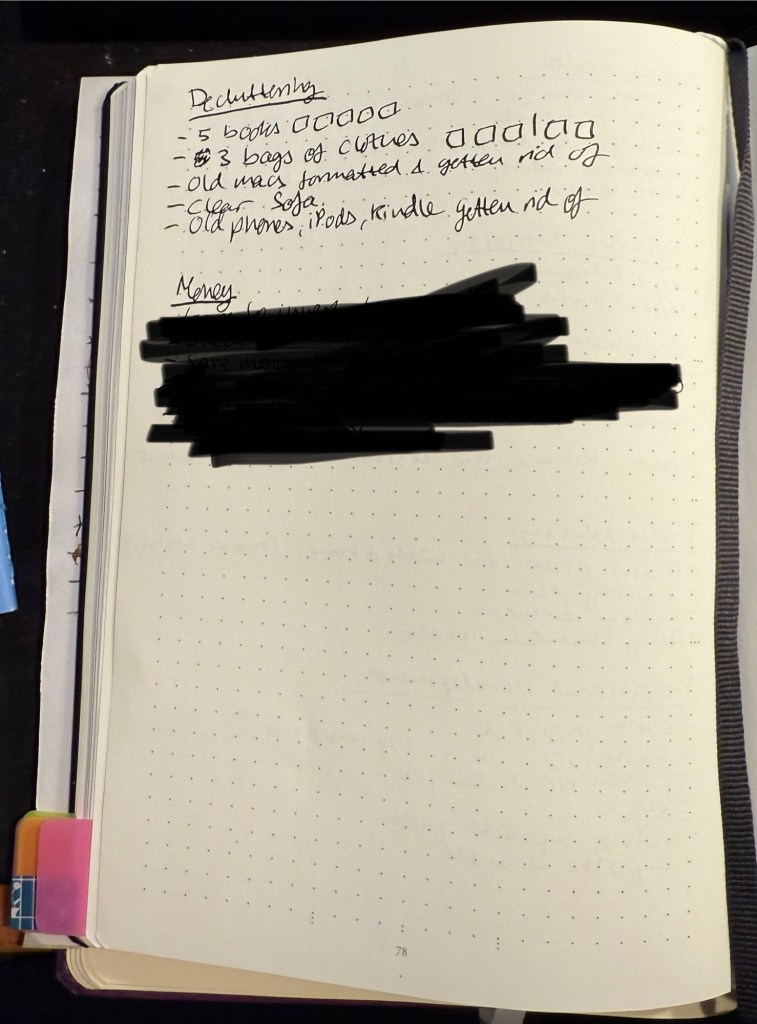
- Work In Progress notebook – this is the newest addition to my notebook rotation and I wish I had started a notebook like this sooner. What is a Work In Progress notebook? It’s where I spend time working on things in my life that I want to reflect on and change. You can do this in your journal, but as I’m dedicating time and effort this year to make some significant behavioural changes I wanted the place to work through these things. This is also a place where I reflect and take notes about the non-fiction, history, philosophy and self-help books that I’m reading, and it’s a place where I take time to consider my values and purpose in life. Heady stuff that we’ve been encouraged to abandon in this cynical and commercial age – much to our detriment. You can change and evolve, it’s worth investing time in trying to become a better version of yourself, and consistent daily work and reflection in this area is worth doing. I highly recommend keeping a notebook dedicated to this endeavour.
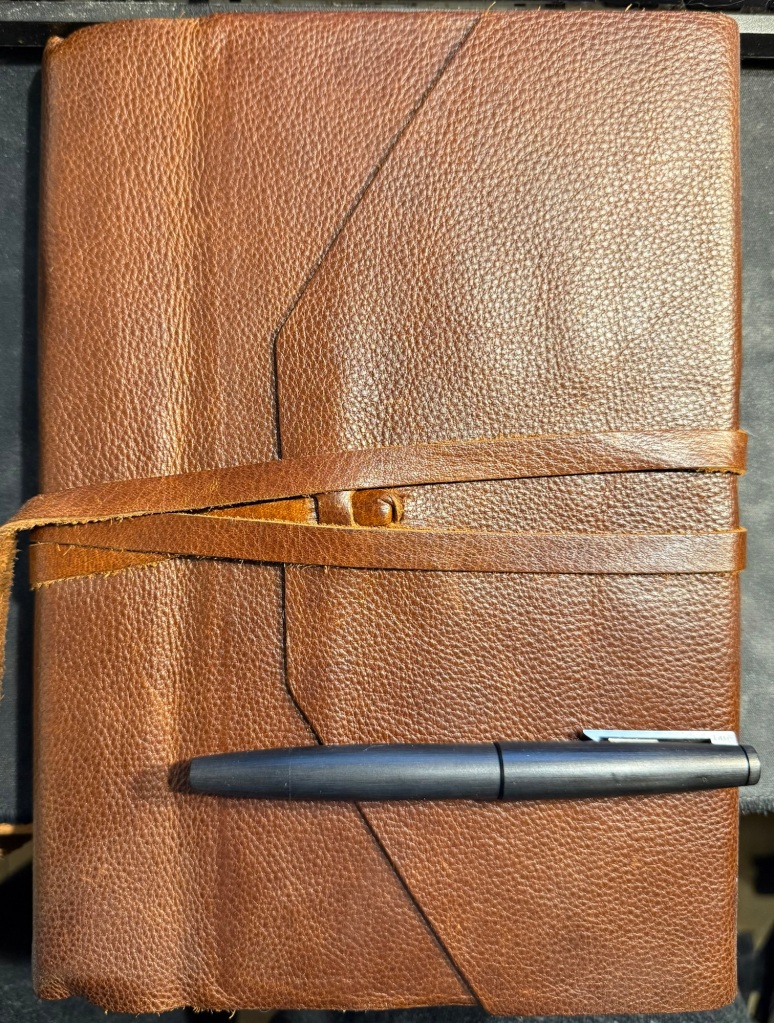
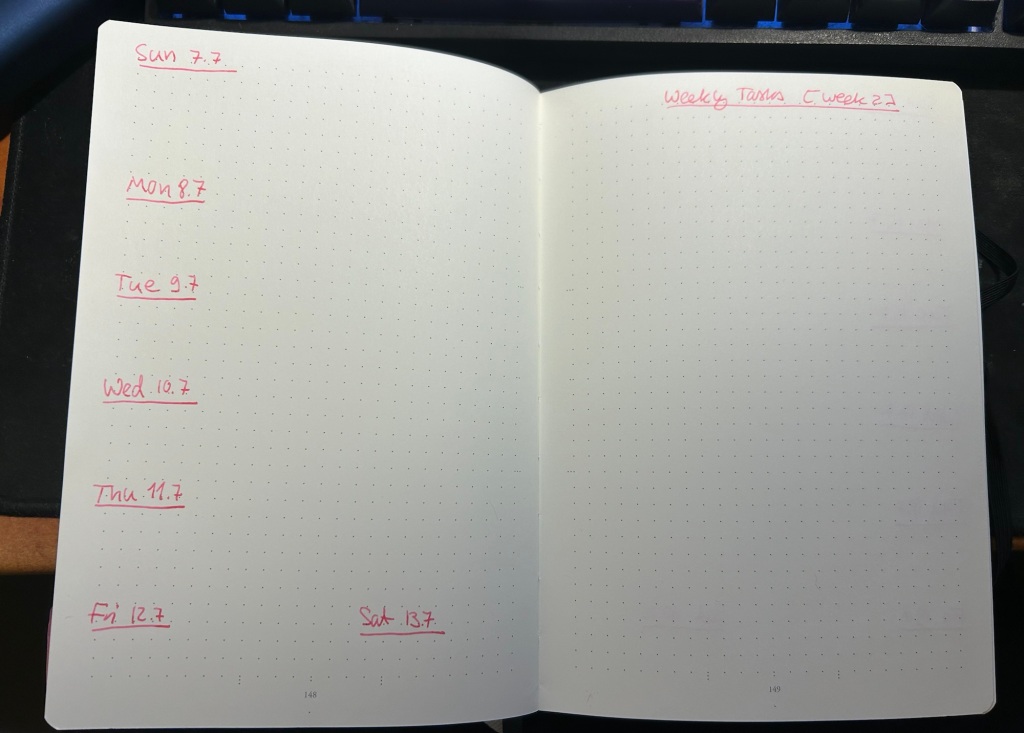
- Planners – I believe that the best planner is the one that you customise for your needs. This is why I recommend not buying a pre-formatted planner, and instead making a planner yourself. I keep a work planner and a personal (home) planner and I recommend that you do the same – keep work at work and home at home whenever possible. Take into account that you’ll have to experiment to see what works for you, and that there will be a level of compromise that you’ll have to grow comfortable with. There is no “perfect” planner – there is a planner that works for you. Planners don’t replace reminders or calendar appointments – they’re there to give you a broader view of your week, month and year, and let you make some long term plans.
- Single Project notebooks – “Single Project” notebooks are exactly that – a notebook dedicated to a single project or area in your life. It can be a hobby (I have one dedicated to my D&D plans, and I used to have one dedicated to my running), an actual project that you’re working on (I’m studying for a certification so I have a dedicated notebook for my study notes), or an idea that you want to develop. I try to select a notebook that fits the project that it’s dedicated to in terms of size, format, cover and number of pages. My running notebook was a Field Notes, my study notebook is a Midori MD notebook. If it’s something that you’re working on for a while and that’s important to you, I recommend dedicating a notebook for it.
- Daily To Do List – I don’t use a notebook for this at the moment, but I used to use a large squared Moleskine for this. I currently use Kokuyo KB A4 loose leaf paper that I cut in half to A5 size. These lists are disposable to me, so I have no problem crumpling the daily list away and tossing it into recycling. You can use a notebook, index cards, loose leaf paper – but I recommend keeping a hardcopy, analog version of your daily to-do list. Why? Because to-do apps give you excuses to pick up your phone, because writing things down makes you stop and consider what you’re committing to, and because you’ve got all those pretty notebooks and pens and it would be a shame not to use them.
- Scratch pad – keep one at hand to doodle on, for quick capture and to test out pens and inks.
Hopefully this will help you get more enjoyment and use out of that big pile of notebooks in your closet. Let me know if this helps or if you have more ideas on how to use your notebooks.